The first time my Wi‑Fi started “doing that thing” again, it wasn’t dramatic. It was just a spinning circle on a video call in the back bedroom, then the sound turning robotic, then silence. I walked downstairs with the laptop held out like a divining rod, watching the bars come back the closer I got to the front room.
Terraced houses have a particular talent for this. They’re long, narrow, full of brick and chimney breasts, and the rooms that need signal most are often tucked right at the back. You can be ten metres from the router and still feel like you’re in a different postcode.
And then someone says the line that sends you straight to online shopping: “Just buy an extender.” Except the engineers who spend their days fixing “slow Wi‑Fi” callouts will tell you a quieter truth first.
Most of the time, you don’t need more kit. You need the router at the right height.
Why terraced houses breed dead zones (even on fast broadband)
Broadband speed into the house is only half the story. Wi‑Fi is the bit that has to travel through your home, and terraces are built like obstacle courses for radio waves: solid internal walls, fireplaces, metal radiators, and a layout that stretches signal down a corridor rather than out in a neat circle.
There’s also the neighbour factor. In a row of terraces you’re swimming in other people’s networks, all competing for airtime. Even when your router is technically “strong”, it can be battling interference, especially on 2.4GHz.
Engineers see the same pattern again and again: the router is fine, the line is fine, but the router is parked in the worst possible spot because that’s where the phone socket or fibre ONT happened to be installed. Usually low down, tucked behind the telly, or boxed into a cabinet like it’s something to hide.
The one router height engineers keep coming back to
If you want one number to start with, make it this:
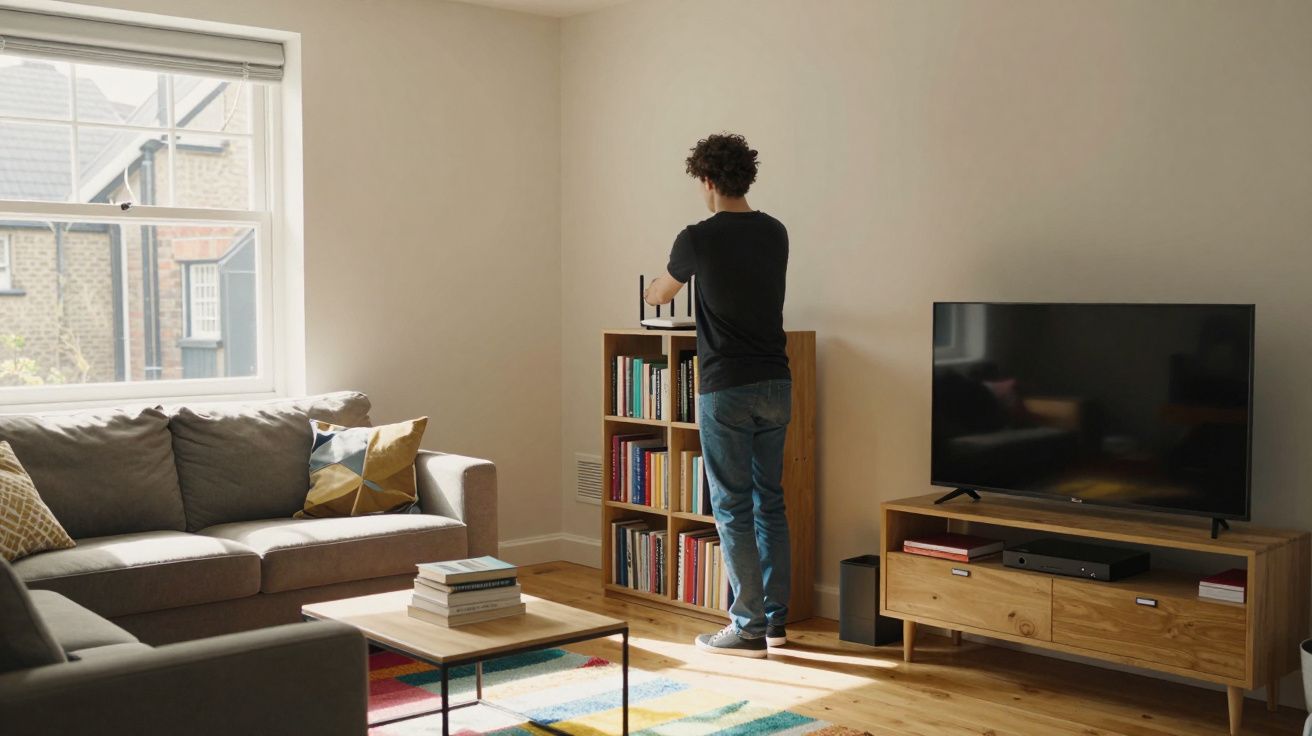
Put the router at roughly chest height - about 1.2 to 1.5 metres from the floor.
Not on the skirting board. Not on top of a bookcase near the ceiling. Not on the floor “for now” where it quietly stays for three years.
Engineers like chest height because it’s where the signal can travel through rooms without immediately hitting the two things that kill it fastest: dense furniture clutter low down, and wasted coverage high up (into the loft space or out through the front wall).
Think of Wi‑Fi like torchlight rather than magic. You’re trying to shine it down the length of the house and across doorways. Chest height gives it a clearer line through the living spaces you actually use.
Why not higher?
People hear “higher is better” and stick the router on the highest shelf they can reach. In a terrace, that can backfire. Too high and you start feeding signal into the ceiling void, upstairs landing corners, or straight out towards the street, instead of pushing it through the rooms where your devices sit.
Also, routers aren’t designed to be ceiling antennas. Most home routers radiate best outwards and slightly downwards, and their internal antennas can create odd “lobes” where some angles are stronger than others. Chest height is the boring, reliable compromise.
Why not lower?
Low placements get smothered. Sofas, TVs, radiators, fish tanks, even a stack of magazines can attenuate or reflect Wi‑Fi. In terraces, that matters because the signal already has more walls to get through than it would in an open-plan flat.
And if the router is on the floor, it’s competing with the worst kind of clutter: everything.
A quick “engineer’s move” you can try in 10 minutes
You’re not committing to drilling holes yet. You’re testing the idea.
- Unplug the router and move it to a central-ish spot at chest height (a shelf, sideboard, or wall shelf is fine).
- Give it a clear halo: aim for 20–30cm of space around it. No cabinets, no piles, no wedging it behind the TV.
- Stand it upright as intended (if it has a recommended orientation). Don’t lay it flat unless the manufacturer says so.
- Test the worst room (usually back bedroom or kitchen). Run a quick speed test and, more importantly, check stability: does it drop out when you move around?
If you can’t move the router because the incoming line is fixed at the front, you can still do this as a temporary test using a longer power lead. The goal is to prove the physics before you spend money.
“Most ‘dead zones’ are just bad placement dressed up as a coverage problem.”
The placement rules engineers wish were on the box
Chest height is the headline, but these are the details that make it work in a terraced house.
- Go central if you can, not “front room by default”. A router at the very front of a long house spends half its energy broadcasting into the street.
- Keep it away from big metal and water. Radiators, boilers, fridges, and aquariums can all interfere more than people expect.
- Don’t hide it in a cabinet. It looks tidy, but it’s like putting a speaker under a blanket and complaining the music is muffled.
- Mind the chimney breast. Thick masonry and fireplaces are classic signal blockers. A router tucked beside one can create a sharp shadow behind it.
- Separate it from the TV and set-top box. Electronics can add noise, and the TV area is often the most cluttered corner in the room.
If you do nothing else: get it up to chest height and out in the open. That single change often removes the “why does it die in the back room?” mystery.
When height fixes it… and when it can’t
There’s an honest limit here. Height and placement can’t rewrite physics.
If your terrace has very thick internal walls, foil-backed plasterboard, or an extension at the back with dense materials, the signal may still struggle. Likewise, if everyone in the house is on video calls while someone else is gaming and the neighbours’ Wi‑Fi is piled on top, you’re dealing with both coverage and congestion.
Before you buy anything, try the two no-cost tweaks that engineers often do after moving the router:
- Split your Wi‑Fi bands (if your router allows). Name 2.4GHz and 5GHz separately. Use 2.4GHz for range (back rooms), 5GHz for speed (near the router).
- Change channel. In crowded terraces, a less-busy channel can reduce dropouts. Many routers do “auto”, but it isn’t always smart at peak times.
If, after a good placement at chest height, the back of the house still drops out, that’s when an extender or (better) a mesh node or wired access point becomes a sensible next step. But you’ll be buying it for a real reason, not because the router was trapped behind the telly at ankle level.
A simple setup that suits most terraces
Engineers tend to aim for a layout that’s boring and repeatable:
- Router at chest height in the front half of the house, ideally not right against the front wall.
- Point it “down the length” of the property, not into the party wall.
- One clear line through the hallway if possible (hallways are signal highways in terraces when you avoid clutter).
If you can get the router onto a wall shelf around 1.3m high near the stairwell or hallway edge, you often get the best compromise: upstairs benefit, downstairs benefit, fewer thick obstacles.
| Change | What to do | What you’ll notice |
|---|---|---|
| Router height | Raise to ~1.2–1.5m | Fewer dropouts, stronger back-room signal |
| Open placement | Keep it out of cabinets/behind TV | More consistent speeds and stability |
| Band choice | Use 2.4GHz for range, 5GHz for speed | Better coverage without new hardware |
Make it feel normal (so it stays fixed)
A lot of Wi‑Fi “fixes” fail because they’re annoying to live with. The router ends up moved back to the floor because the shelf looked messy, or because someone wanted the sideboard space back.
Make the good placement easy to keep. Use a small wall shelf, tidy the cables, and treat the router like a smoke alarm: it’s not décor, it’s infrastructure. Quiet, visible, doing its job.
Because the real win isn’t a flashy speed test. It’s walking into the back room on a rainy Tuesday and realising you haven’t thought about the Wi‑Fi once.
FAQ:
- What exactly is the best router height in a terraced house? Around chest height: roughly 1.2 to 1.5 metres from the floor. It reduces blockage from furniture while avoiding wasting signal into ceilings/loft spaces.
- Should I put the router upstairs for better coverage? Only if most of your use is upstairs. In many terraces, a central chest-height position on the ground floor (near the hallway/stairs) gives a better balance for both floors.
- Will moving the router really help if my broadband is slow? It helps Wi‑Fi coverage and stability, not the speed coming into the house. If wired speed to the router is low, you’ll need to address the line/ISP issue separately.
- Is 2.4GHz or 5GHz better for terraced houses? 2.4GHz usually reaches further through walls (better for back rooms), while 5GHz is faster at short range. If you can, split the bands so you can choose per device.
- When should I stop tweaking and buy extra kit? If the router is correctly placed (open, central-ish, chest height) and you still have consistent dropouts in specific rooms, a mesh node or wired access point is the next sensible step.


Comments
No comments yet. Be the first to comment!
Leave a Comment